How to Create Tables and Insert Data into SQL Databases
28 Apr 2014This is the third post in a series of posts about doing data science with SQL. The previous post covered the steps required to install MySQL on on your local machine.
In this post, I will go over the commands required to set up the example recipe database from the first post in this series. By the end of this post, you will understand how to create new tables and you will have a working database to run SQL queries on!
Creating the Recipes Database in SQL
To create the recipes database, we first need to create a database to work in. We can do this with the command:
CREATE DATABASE recipes_database;
Having multiple databases is useful to separate different projects. We can select our database with the command:
USE recipes_database;
Creating Tables in SQL
To create the recipes table inside recipes_database, we can use
the CREATE TABLE command:
CREATE TABLE recipes (
  recipe_id INT NOT NULL,
  recipe_name VARCHAR(30) NOT NULL,
  PRIMARY KEY (recipe_id),
  UNIQUE (recipe_name)
);

INSERT INTO recipes
    (recipe_id, recipe_name)
VALUES
    (1,"Tacos"),
    (2,"Tomato Soup"),
    (3,"Grilled Cheese");
The PRIMARY KEY forces every row to be a unique value. This stops
several recipes from having the same ID. In addition, we use the
UNIQUE keyword to ensure that no two recipes have the same name.
You will notice that different columns can have different types.
Recipe IDs are integers and recipe names are variable length arrays
of characters. VARCHAR(30) means that the strings can store up
to 30 characters. Other common types include FLOAT, DOUBLE,
DATE, and TIMESTAMP. There is additional documented on types
here.
Next, we can create the ingredients table:
CREATE TABLE ingredients (
  ingredient_id INT NOT NULL,
  ingredient_name VARCHAR(30) NOT NULL,
  ingredient_price INT NOT NULL,
  PRIMARY KEY (ingredient_id),
  UNIQUE (ingredient_name)
);

INSERT INTO ingredients
    (ingredient_id, ingredient_name, ingredient_price)
VALUES
    (1, "Beef", 5),
    (2, "Lettuce", 1),
    (3, "Tomatoes", 2),
    (4, "Taco Shell", 2),
    (5, "Cheese", 3),
    (6, "Milk", 1),
    (7, "Bread", 2);
Note that we do not ensure uniqueness of ingredient_price because
multiple recipes can have the same price.
Finally, we can create the recipe-ingredient-mapping table:
CREATE TABLE recipe_ingredients (
  recipe_id int NOT NULL,
  ingredient_id INT NOT NULL,
  amount INT NOT NULL,
  PRIMARY KEY (recipe_id,ingredient_id)
);

INSERT INTO recipe_ingredients
    (recipe_id, ingredient_id, amount)
VALUES
    (1,1,1),
    (1,2,2),
    (1,3,2),
    (1,4,3),
    (1,5,1),
    (2,3,2),
    (2,6,1),
    (3,5,1),
    (3,7,2);
The last row says, for example, that the recipe with an ID of 3 (“Grilled Cheese”) has an amount 2 of the ingredient with ID 7 (“Bread”).
Notice that our PRIMARY KEY is for recipe ID and ingredient ID pairs.
We require only that the combination is unique because
each recipe can have a particular ingredient only once.
AUTO_INCREMENT IDs
There is an AUTO_INCREMENT command which can be used to let SQL
automatically pick the recipe and ingredient IDs to ensure uniqueness.
Using this command, we can created the same recipes table in a
less error-prone way:
CREATE TABLE recipes (
  recipe_id INT NOT NULL AUTO_INCREMENT,
  recipe_name VARCHAR(30) NOT NULL,
  PRIMARY KEY (recipe_id),
  UNIQUE (recipe_name)
);

INSERT INTO recipes
    (recipe_name)
VALUES
    ("Tacos"),
    ("Tomato Soup"),
    ("Grilled Cheese");
Browse the Tables
To browse the tables in the database, we can run the SELECT
command from the command line:
mysql>   SELECT *
    ->     FROM recipes
    -> ORDER BY recipe_id;
+-----------+----------------+
| recipe_id | recipe_name    |
+-----------+----------------+
|         1 | Tacos          |
|         2 | Tomato Soup    |
|         3 | Grilled Cheese |
+-----------+----------------+
3 rows in set (0.00 sec)
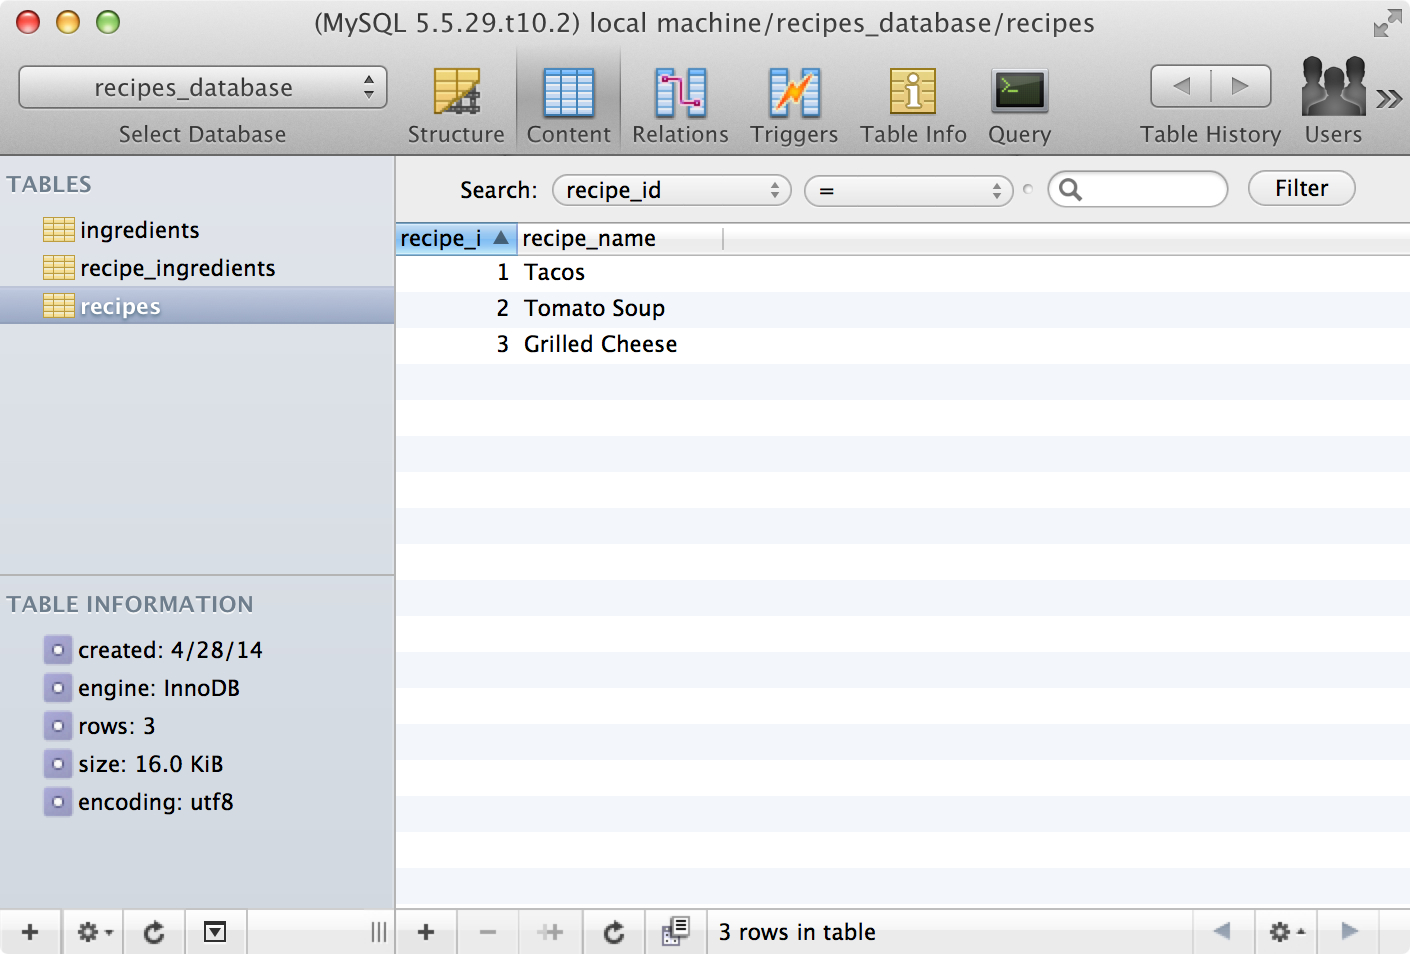
We can also use the content tab in Sequel Pro to graphically browse the tables:
In the next post in this series of posts, I will go over the basics of querying for data in a SQL database.
If you have any questions or comments, please post them below. If you liked this post, you can share it with your followers or follow me on Twitter!